
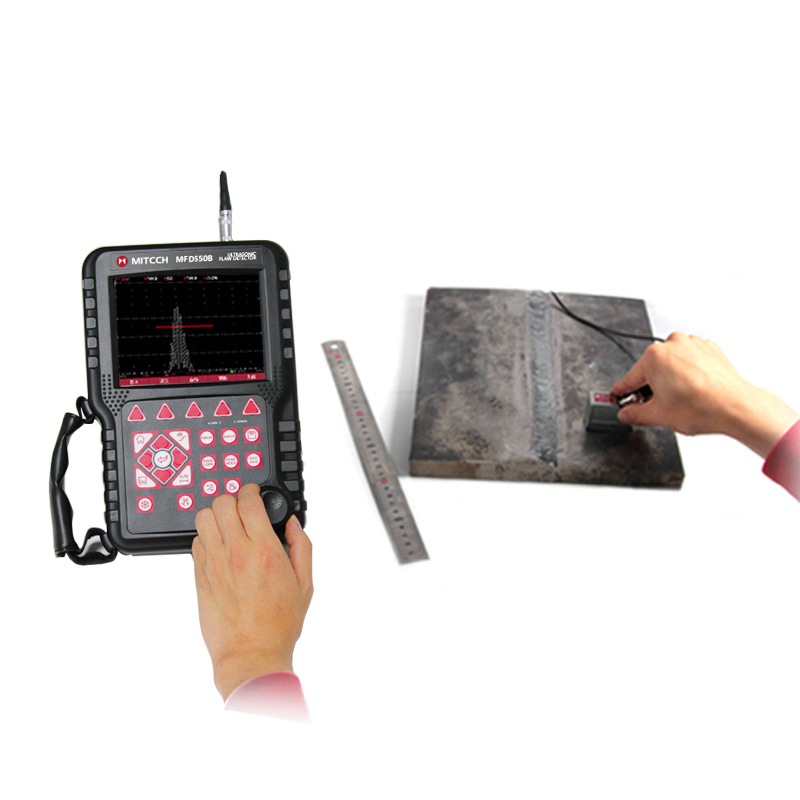


MFD550B Ultrasonic Flaw Detector
Mitech
MFD550B
0-9999 mm at steel velocity
Horizontal: +/-0.1% FSW, Vertical: 0.2% FSH, Amplifier Accur
USB2.0 OTG;100 groups of flaw detecting parameters channels;
more than 10 hours
1.45KG
263*170*61mm
44.5*37*14cm
5.5kg
Product
 Overview
 Graphic
 Technical
 Configuration
 Related
Product
- Overview
- Graphic
- Technical
- Configuration
- Related
-
 Product Overview
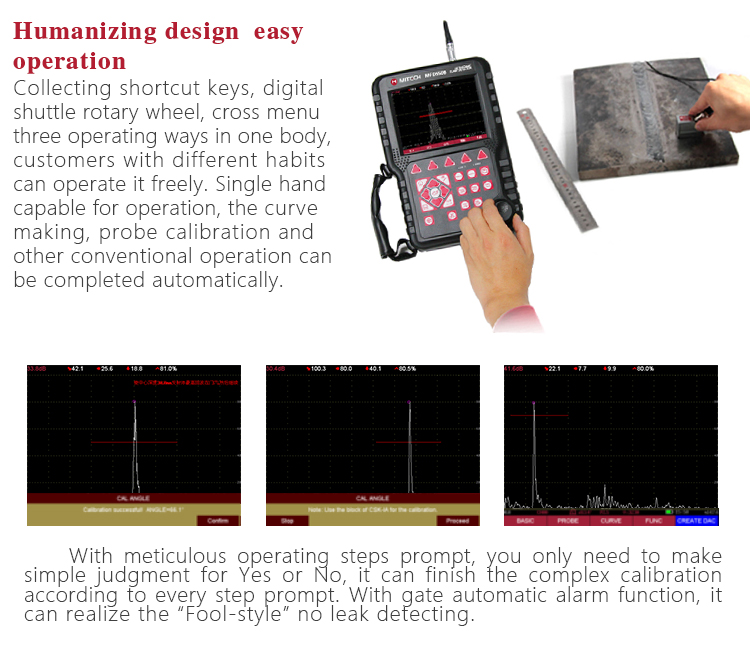
Based on ultrasonic principle, digital ultrasonic flaw detector MFD550B can test, orient, evaluate and diagnose various flaws such as crack, lard, air hole in workpiece’s interior swiftly and accurately without any destruction. With full digital 640X480 TFT LCD display, it show the defect clearly under the dim light and strong sunlight environment. 0-9999mm measuring range can meet the requirement for general defect inspection in manufacturing industry, metallurgical industry, metal processing industry, chemical industry and so on. Low power design with large capacity and high performance lithium ion battery module,it can work more than 10 hours continuously. Full English master-slave menu, emphasizing on user experience, collecting shortcut keys, digital shuttle rotary wheel, cross menu three operating ways inone body, customers with different habits can operate it freely. With comprehensive performance self-checking function, it can automatically generate test reports and support for many languages. With high cost performance, it is the smart choice for the practical economic model of ultrasonic testingequipment.
 Function & application
The instrument can be widely used in locating and sizing hidden cracks, voids, disbands and similar discontinuities in welds, forgings, billets, axles, shafts, tanks, pressure vessels, turbines and structural components.
 Working Principle
When presence of a defect in a workpiece with homogenous material, due to the defects, it will inform the interface among different mediums between the defect and workpiece. As the acoustic resistance is different at the interface, after the pulsing ultrasonic wave met the interface, it will produce reflection. The reflected energy will be received by the probe. Then it will show a reflection waveform in a certain abscissa position in the display screen which is the defect depth in the workpiece. The height and shape of reflecting wave would be different caused by the different defects which reflect the defect’s character.
 Working ConditionsOperating Temperature: -10℃to 50℃;
Storage Temperature:-30℃to 50℃
Relative Humidity: (20 ~ 95)% RH
The surrounding environment should avoid of vibrating, strong magentic field, corrosive medium and heavy dust.
 Instrument Features
Gate Alarm
Gate position, gate width and gate height can be adjustable at will. The B gate can chose to set wave-getting alarm or wave-losing alarm. The beep in gate and LED light can be alarmed or closed (the LED light alarm is very effective under the noise environment). The capture mark function can show the captured echo characteristics in the gate.
Data Storage
The instrument is built with mass storage. The data and files will not be lost because of instrument power breakdown. The storage contents included channel parameters, waveform pictures and video files. It supports 100 groups of flaw detecting parameters channels. It can preset well for the combination parameters of various types of probes and instruments. It can add locks to each channel and change the channel name as well as set testing standards for each industry freely. It can save 20000 pictures of detecting echo signals and parameters. It can realize communication with PC.
Video Function
The instrument supports for saving the inspection process as video file and save it to the internal storage card. Video file can be replayed through the instrument. The instrument can support maximum 100 pieces of video files. The video totally time is not less than 10 hours. Playback the inspection process video makes great convenience for learning detecting but also saved for the future analysis to the inspecting process.
REAL-TIME CLOCK
Record and save the tracking record of detecting date and time in real time.
Communication
High speed USB2.00TG communication interface with USB cable connecting instrument and computer, it can realize data file transfer and work for USBHost mode to operate the external connecting U disk.
Battery Module
The large capacity lithium battery module is easy to be assembled and disassembled. It can be charged independently but also charged by inserting wire. Its continuously working time is more than 10 hours.
Performance Self-checking
The instrument can automatically test the instrument probe’s combined performance indicators (including horizontal linearity error, vertical linearity error, resolution, dynamic range, sensitivity range, sensitivity margin) and can generate the testing report.
 Operating Method and Attentions
Simple Operation Way:
1. Connect the probe to instrument with probe cable
2. Power on the instrument
3. Choose the channel and clear the present channel
4. Calibration the probe
Straight Probe: P-Delay
Angle Probe: P-Delay, X-value, Angle
5. Make AVG curve (straight probe), DAC curve (angle probe)
6. Choose the function setting
7. Detecting flaw in the workpiece
8. Record the flaws
9. Power off the instrument after operation
Notes
1. During pressing key operation, please not be too hard. Please not use the hands with much oil or mud for operating the instrument keypad to avoid affecting the keypad working life.
2. Please clear the instrument cover after operation
3. Please keep the instrument in a dry and clean place
4. Please avoid oil, water or other liquids into the instrument and clean the instrument surface regularly.
5. Make sure not twist or press the probe cable, communication cable and power cable. Please grasp the plug root during inserting or pulling the cable. Don’t grasp the cable for pulling or inserting.
6.Please make sure the standard battery for working power adapter for charging. Otherwise, the instrument would be damaged easily.
 Instrument Maintenance
1. Care of the Instrument
Clean the instrument and its accessories using a moist cloth. Only use the following recommended instrument cleaners: water, a mild household cleaner or alcohol (no methyl alcohol).
Attention:
Do not use any methyl alcohol, solvents, or dye penetrated cleaners!
The plastic parts can be damaged or embrittled by these.
2. Care of the Batteries
Capacity and life of batteries mainly depend on the correct handling. Please therefore observe the tips below.
You should charge the batteries in the following cases:
Before the initial startup
After a storage time of 3 months or longer
After frequent partial discharge
3. Maintenance
The instrument requires basically no maintenance.
Attention:
If the accident occurred during instrument using, the instrument will be abnormal which means that instrument will not be able to use. Please turn off the instrument connection with the battery by putting the battery switch to off. Then, power on the instrument again after waiting one minutes to see if it is back to normal.
We provide two year’s warranty and life-long maintenance to the instrument. Please kindly contact with our company or agent for instrument repair. Please don’t disassemble the instrument by yourself without our agreement.
-















-
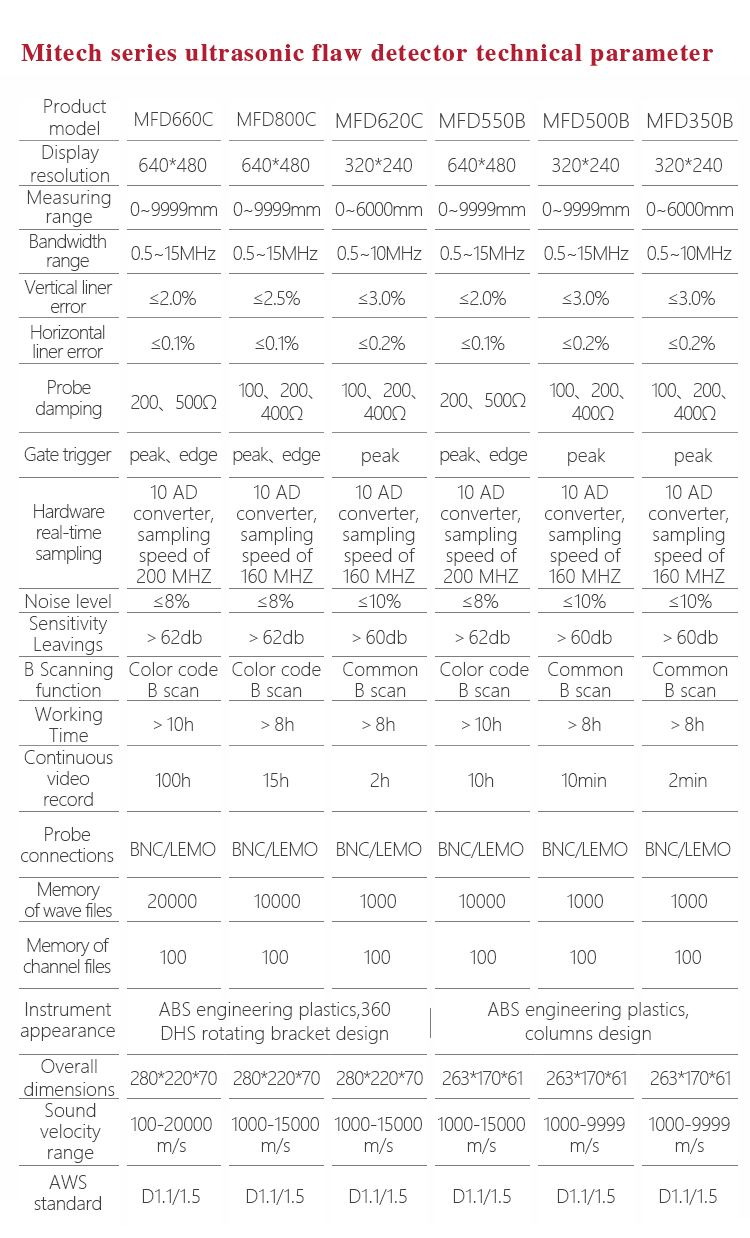
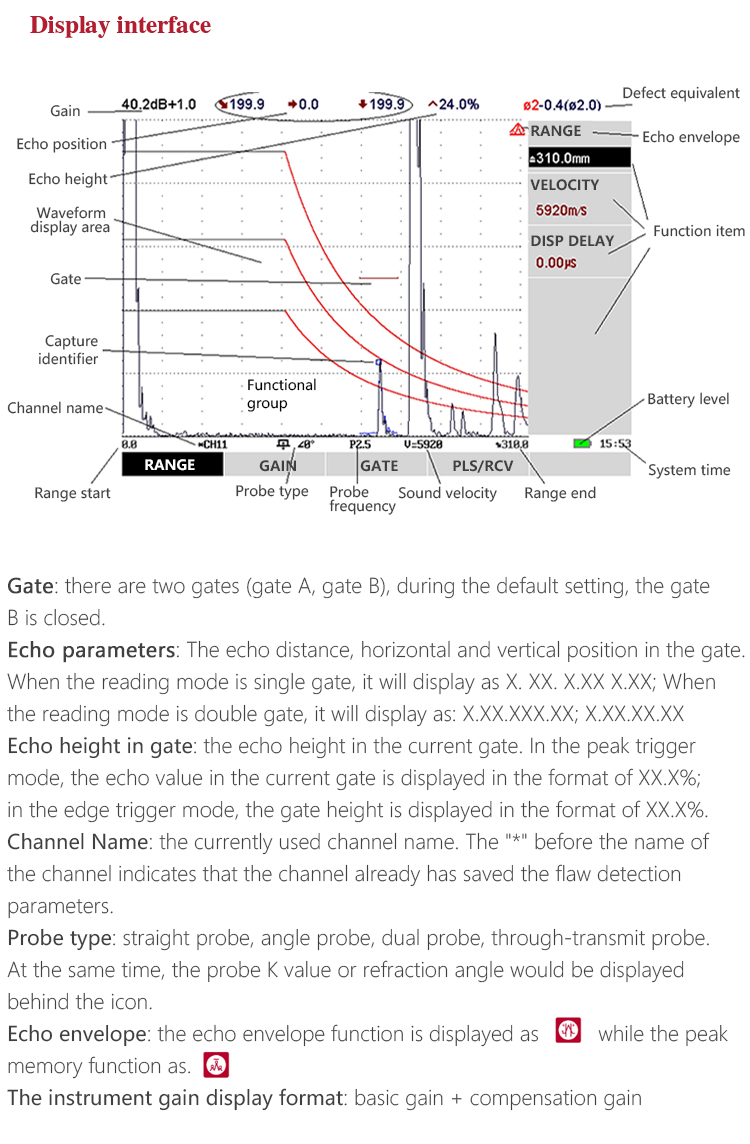
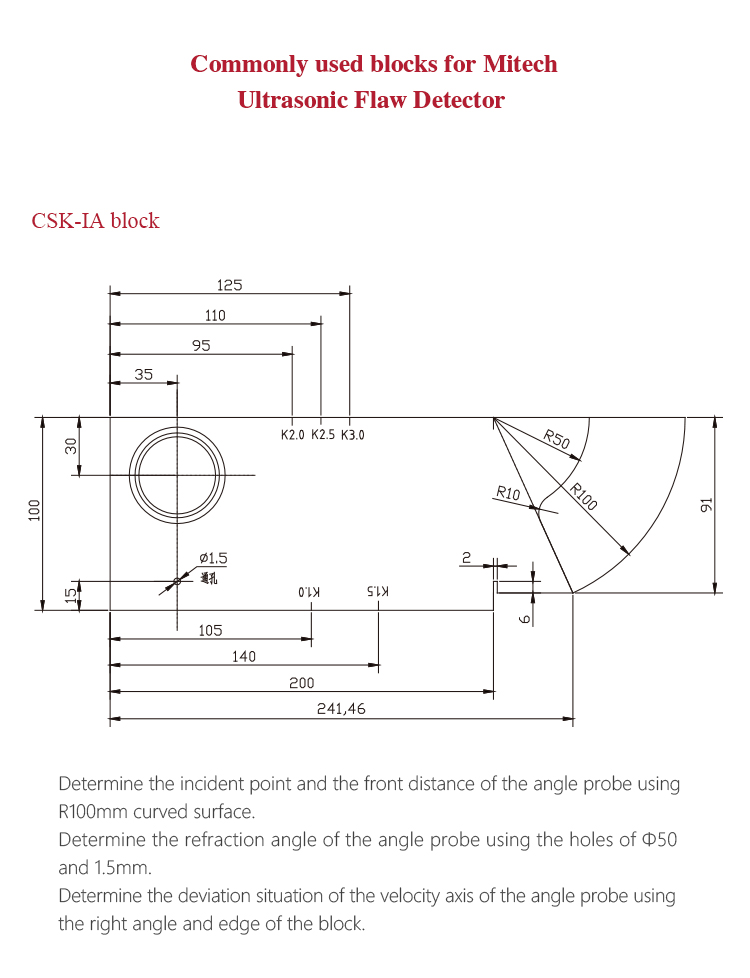
Display Resolution (640×480 pixels) full digital TFT LCD Blind Area 5MM Flaw Sizing Automatic flaw sizing using AVG/AVG or DAC, speeds reporting of defect acceptance or rejection. Weld Figure Feature Weld Figure feature can be enabled when detecting the weld parts using angle transducer. Auto-Calibration Automated calibration of transducer zero offset and/or material velocity Memory be able to store, recall the A-Scan patterns and instrument settings. Flaw Locating Live display Sound-path, Projection (surface distance), Depth, Amplitude Defect Quantification directly display the result with db unit Defect characterization calculate the equivalent size of the flaw easily and quickly to facilitate the judgment of artificia Curved Surface Correction used to measure the surface distance and depth of defect on a curved surface DAC/AVG Y AWS D1.1 one of the AWS(American Welding Society) standards Crack Height Measuring measure and display the height of a crack found inside the workpiece Magnify Gate spreading of the gate range over the entire screen width Video Recording more than 10 hours A Scan Freeze Display freeze holds waveform and sound path data Coded Echo Color locate the flaw position B-Scan display a graphical cross-section of the workpiece Power-Saving Method low power consumption Protection Level IP54 Communication Interface High Speed USB2.0 port DataPro Software Y Working Language freely switch between Chinese and English Total Weight 6.0KG Measuring Range (0 ~ 10000) mm in steel Bandwidth 0.2 to15MHz automatic matching according to the probe frequency Material Velocity (100 ~ 15000) m / s Dynamic Range ≥ 36dB Vertical Linear Deviation ≤ 2.0% Horizontal Linear Deviation ≤ 0.1% Resolution 40dB (5P14) Sensitivity Leavings 65dB (flat-bottomed deep hole 200mmФ2) Rejection (0 to 80)% Linear without affecting the linearity and gain Noise Level ≤ 8% Probe Type straight beam probe, angle beam probe, dual element probe, through-transmit probe Gates Wave-getting Gate, Wave-losing Gate, Single Gate Reading, Dual Gate Reading Alarm Beep Alarm and LED light Alarm Power Supply DC 9V Working Time >10 hours Overall Dimensions 263 × 170 × 61(mm) Operating Temperature (-10 ~ 50) ℃ Relative Humidity (20 ~ 95)% RH Pulse Energy 200V, 300V, 400V, 500V selectable, suitable for various probe Pulse Width (30~510)ns range with continuous adjustment to match the different frequency probes Probe Damping 200Ω、500Ω selectable to meet different requirements for resolution and sensitivity. Sampling 10 digits AD Converter at the sampling speed of 400MHz, waveform of highly fidelity. Rectification Positive half wave, negative half wave, full wave, RF Gate Reading optional for single gate and double gate reading mode; peak readings within the gate Gain 0 dB to 110 dB adjustable in selectable steps 0.1 dB, 1 dB, 2dB and 6dB Transducer Connections BNC or LEMO -
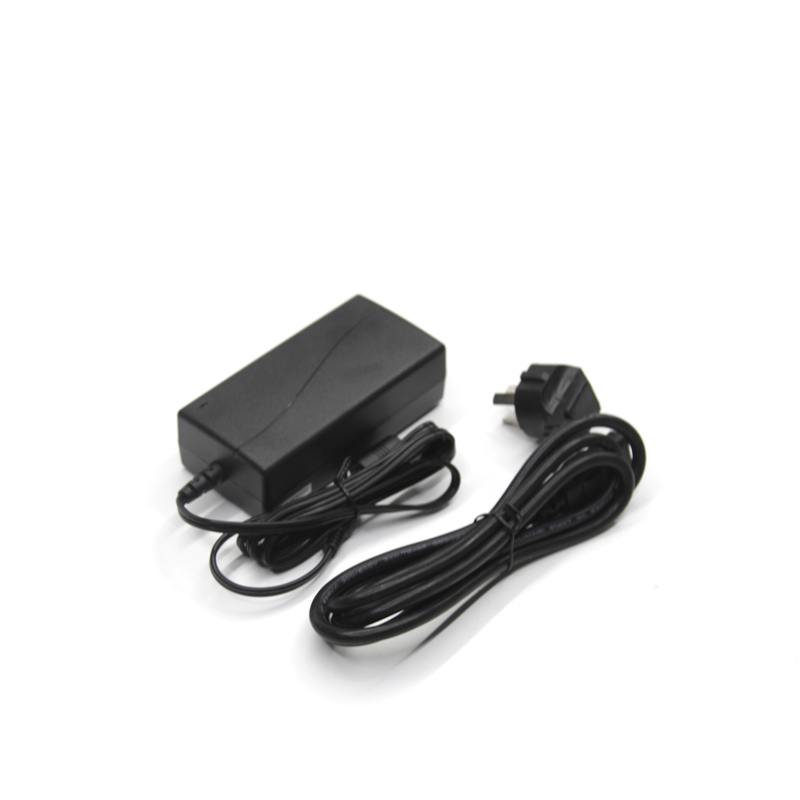
B Series Power Adapter B Series Power Adapter of Mitech Ultrasonic flaw detector, the standard configuration of B series products with 9V voltage and 4A current, It is used for instrument charging. During charging, it will produce the constant voltage which can effectively protect the instrument, easy to use, safe and reliable. This instrument is only limited to the use of our company's special battery pack and power adapter (charger), otherwise it may cause damage to the instrument. 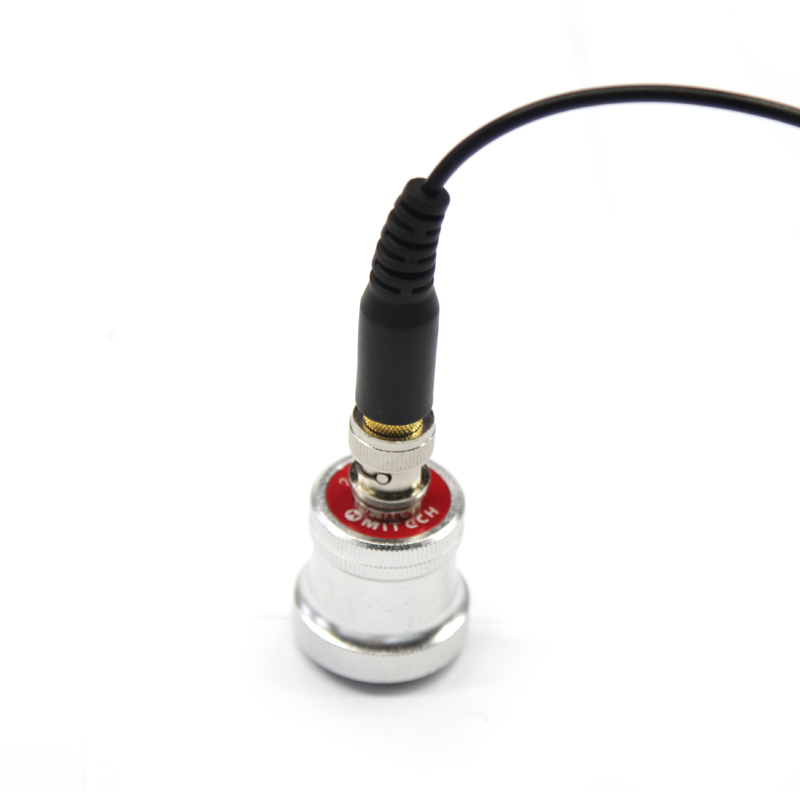
Straight Probe Mitech standard Straight Probe with the parameters of 4MHz, 10mm is the standard configuration of Mitech series ultrasonic flaw detectors. It is mainly composed of the piezoelectric crystal, damping block and protective film. The ultrasonic wave is emitted from the piezoelectric crystal, through the protective film and couplant enter into the measured workpiece. So for the straight probe, the actual distance of ultrasonic transmission is equal to the workpiece thickness plus protective film and couplant. So the straight probe should be calibrated before using to remove the distance between the protective film and the couplant to reduce the error caused by them and improve the measurement accuracy. The Straight Beam Probe is suitable for flaw detecting of larger parts with various shapes like forgings, castings and so on. 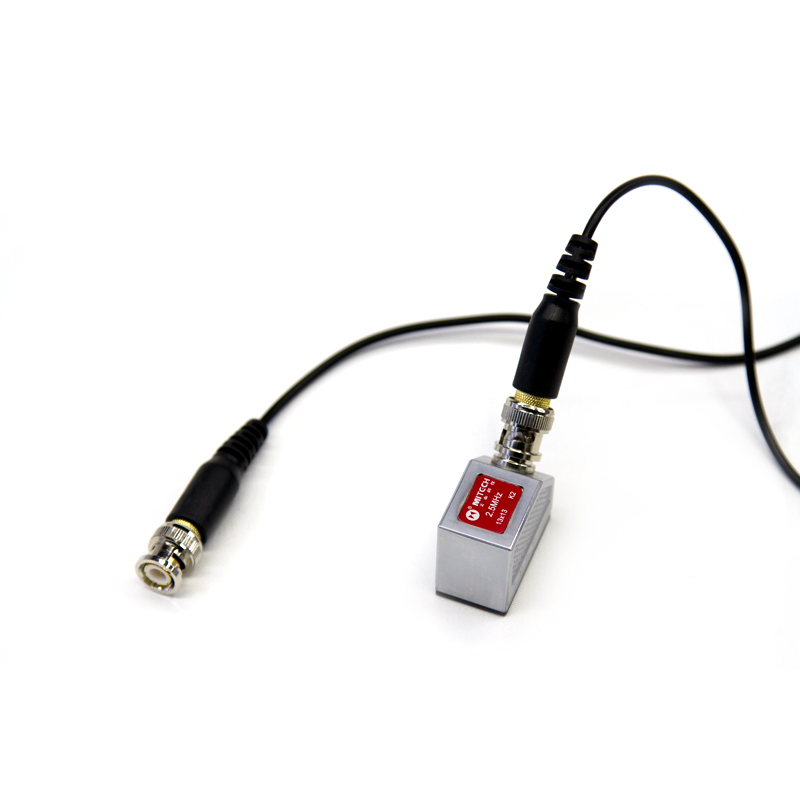
Angle Probe Mitech standard Ultrasonic flaw detector Angle Probe with the parameters of 4MHz 8*9, 60°is the standard configuration. It is mainly composed of the piezoelectric crystal, damping block and wedge. The ultrasonic wave emitted from the crystal, through the wedge, it is converted to the transverse wave, and then incident to the measured workpiece. The wedge is made of organic glass, which can realize the waveform transformation. In order to avoid errors in calculating the defect distance, before using the angle probe, we need to calibrate its P-delay, angle and forefront. Through calibration, this part of the error can be automatically subtracted, thus improving the measurement accuracy .The Angle Beam Probe is suitable for normal flaw detecting like welds. 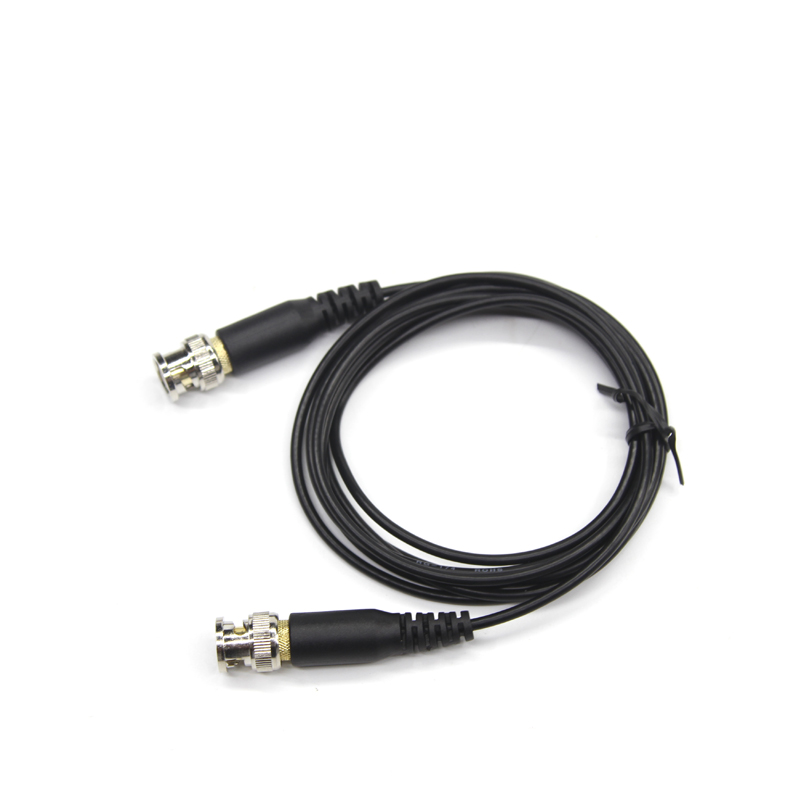
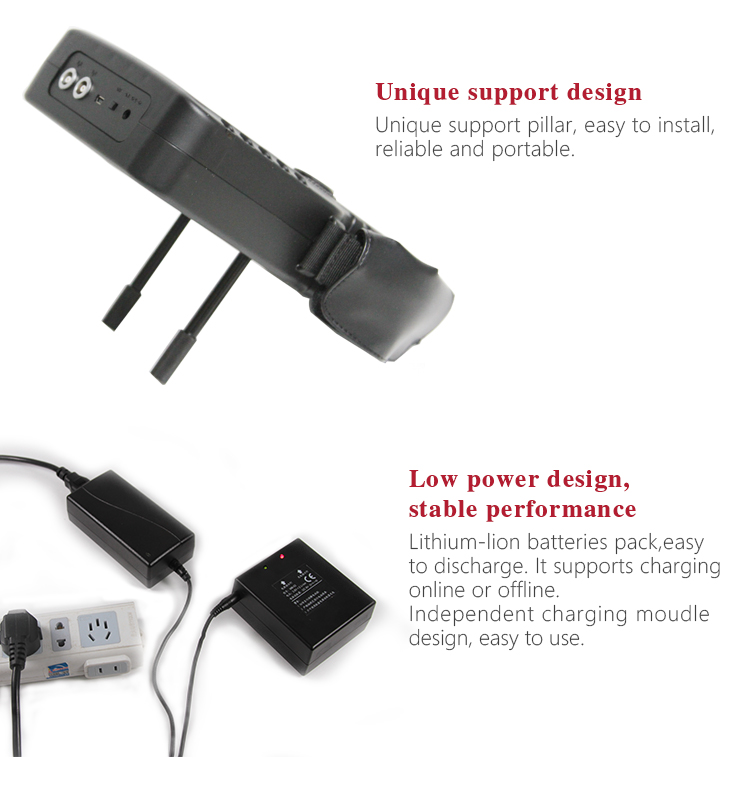
Single Probe Cable The single cable for Mitech ultrasonic flaw detector, with standard length of about 20cmm, BNC/LEMO-LEMO00 probe cable is the standard configuration of the instrument, used for connecting the main unit with the probe. Battery Module MB-02 Mitech B series products of Ultrasonic flaw detector have internal rechargeable Li-ion battery pack rated 7.2V at 8800 mAh,is the standard configuration.When using ,don't disassemble ,and only for supplied charger ,otherwise ,the battery will be damaged .If it’s not used for a long time, be sure to regularly charge and discharge(about once a month), so as to avoid failure. Power Cable Power Cable of Mitech Ultrasonic flaw detector with length about 140cm, it is used for the connection between the main unit and power adapter. There are GB standard power cable, European standard power cable, British standard power cable, the United States power cable for selection. ABS Instrument Case The ABS instrument case for Mitech Ultrasonic flaw detector with length of 42cm, width of 30cm, height of 8.5cm, designed with ABS engineering plastic, It has excellent performance like waterproof, shockproof, excellent heat resistance and low temperature resistance. It can effectively prevent oil, dust and corrosion in harsh environment. Its size in line with the standards for aviation and train carrying (capable of putting under the seat and on the luggage rack), it is safe, reliable and stable. Support Pillar The B seris support pillar, the standard configuration for MFD B series products, with length of 9.5cm, it’s used to support the instrument.
Data processing software Data Pro Software, the standard configuration of Mitech ultrasonic flaw detector, which has the functions of data management, graphic display, parameter setting, report printing, file management and so on. It is suitable for storing and managing the non-destructive flaw detecting report. With the analysis results provided by the software, it can make enterprise quality control more scientific basis and higher traceability. Improving the quality of enterprise information management level is the effectively guarantee for enterprise analysis the product qualification rate and improve the quality monitor. The software can also be used as effective tools in scientific research units related with metal materials, manufacturing plants, universities and other departments engaged in theoretical teaching, experimental analysis and basic scientific research 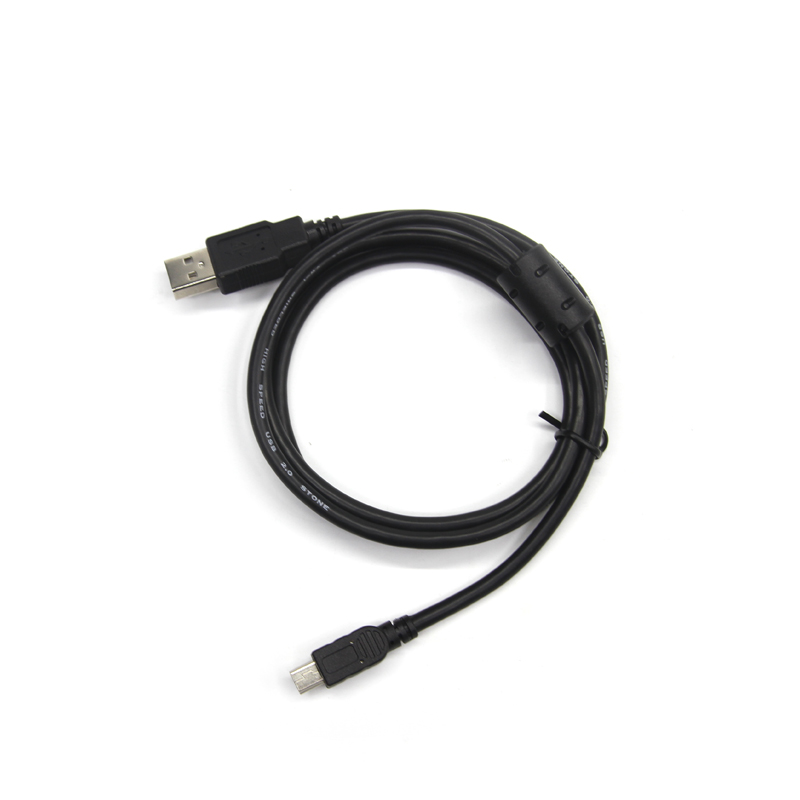
USB Communication Cable The USB Communication Cable of Mitech Ultrasonic flaw detector, with length about 150cm, it is used for connecting the instrument with PC to realize the application of communicating with PC, analyzing and storing the data as well as printing the inspection reports. Attached files The Mitechs Ultrasonic flaw detector with customized packing documents has included product certificate, warranty card, product manual and packing list. The packing documents had used the special printed paper. The manual is with graphic design, beautiful, easy to understand, easy to save for a long time.
Note: The electronic version of the packing documents for Mitech series products can be downloaded from www.mitech-ndt.com. -

Dual Straight Probe(F5-F30) There are many optional dual straight probes with various specifications like 1.25P/2.5P/5P、Φ10、Φ14、Φ20, which are suitable for flaw detecting the thin plates and bars. The probe radian can be selected according to the diameter of the bars. 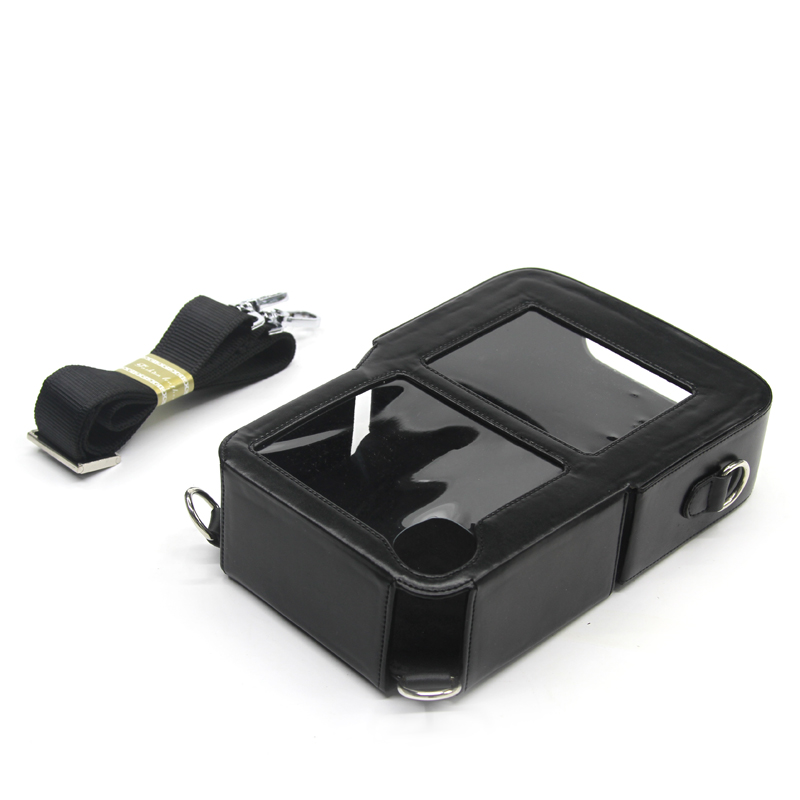
Leather cover of main unit The leather cover of the main unit for Mitech ultrasonic flaw detector with length of 42cm, width of 30cm, height of 8.5cm, it is used to protect the instrument. With built-in belt, it can be adjusted according to the actual need.


