Product
 Overview
 Graphic
 Technical
 Configuration
 Related
Product
- Overview
- Graphic
- Technical
- Configuration
- Related
-
 Product Overview
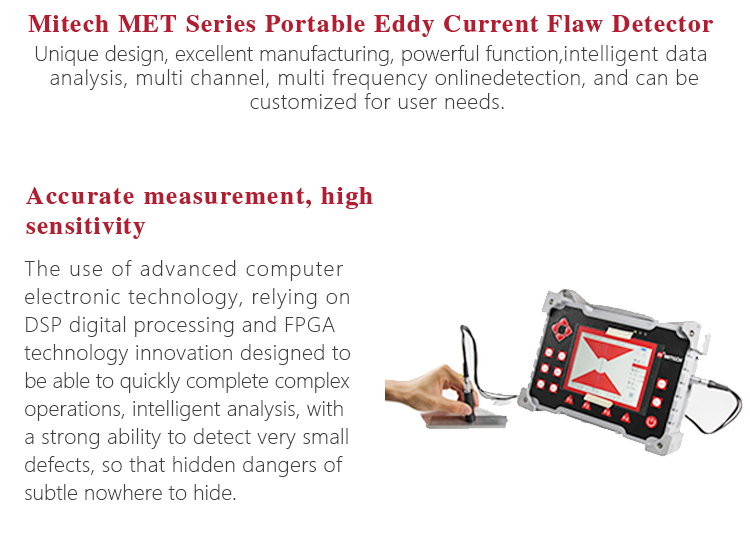
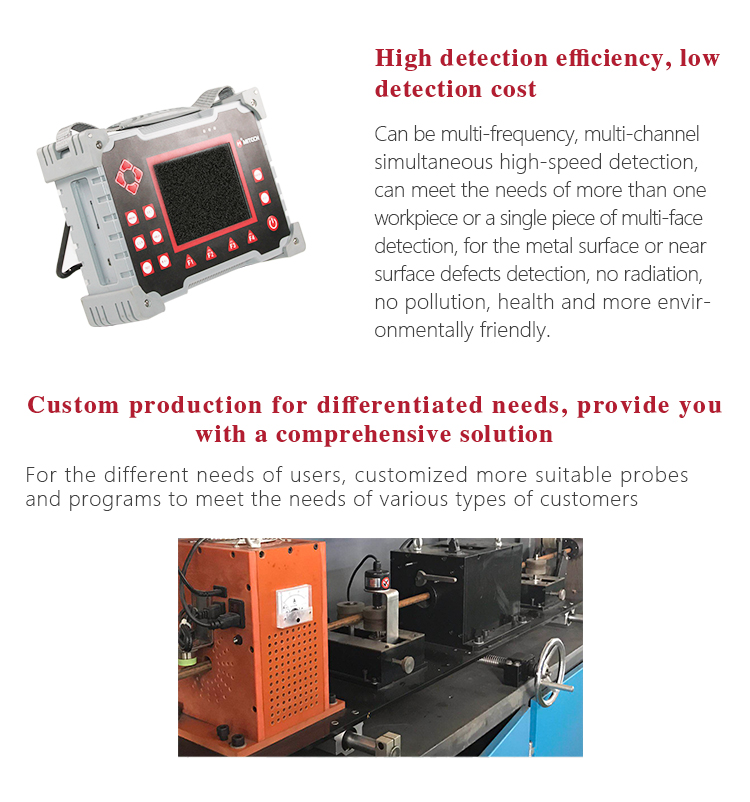
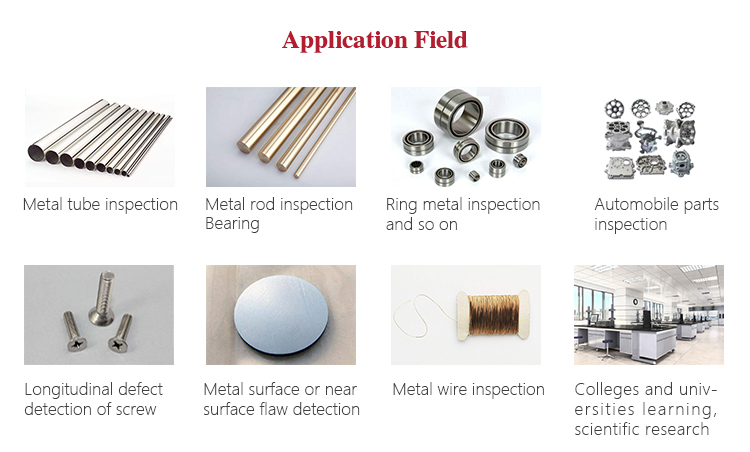
Mitech MET Series Portable Eddy Current Flaw Detector,also known as digital electromagnetic detecor,based on the principle of electromagnetic induction,can detect various metal parts surface or near surface defects with high-speed. It uses advanced DSP digital processing and FPGA technology innovation designed, with 5.7-inch TFT LCD screen, can clearly display the detection data.The product has high sensitivity, stable performance, multi-channel simultaneous detection and intelligent data analysis, can be equipped with intelligent probe, can also be customized probe according to customer needs , with extended magnetic memory, coating thickness, conductivity measurement and other practical Features. It is widely used in all kinds of metal pipe rods, auto parts, bearings, oil casing, oil control rods, ring metal parts in non-destructive testing and scientific research and other areas of higher education research.It is the necessary professional precision testing equipment to improve production efficiency, saving production costs.
 Function & application
l All kinds of metal pipe rod wire high-speed non-destructive testing (according to user needs customized package of non-
destructive testing solutions);
l Quality quality links of bearing, ring, auto parts and other metal parts manufacturing quality control links;
l Colleges and universities learning, scientific research and other fields;
 Working Principle
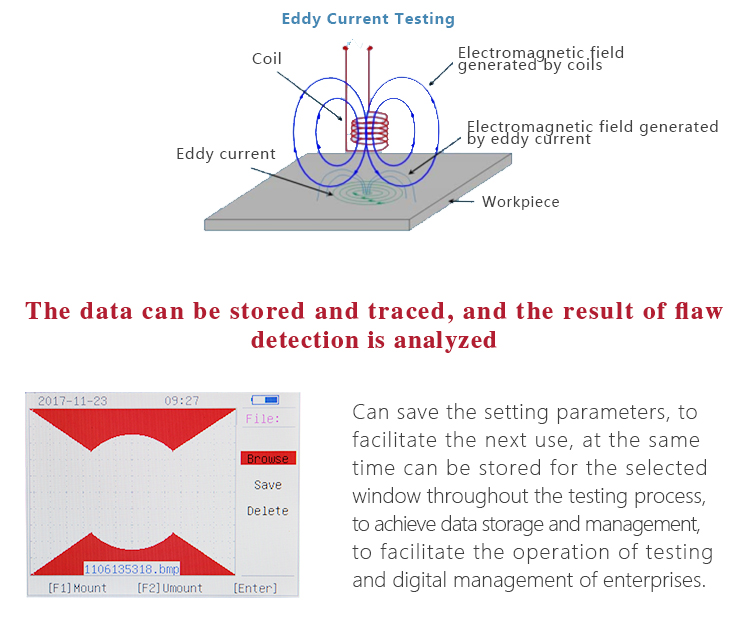
The eddy current detection technique is based on the principle of electromagnetic induction, and the excitation signal is loaded into the probe coil. When the probe is close to the metal surface, the alternating magnetic field around the coil will generate the induced current on the metal surface.For flat metal, the flow of induced current is a coil concentric circular, shaped like a vortex, named as the eddy current.The size, phase and flow pattern of the eddy current are affected by the conductivity of the specimen.The eddy current also produces a magnetic field that in turn causes the impedance of the detection coil to change.So when the conductor surface or near the surface of the defect or the measurement of metal materials change, the intensity and distribution of eddy currents will be affected by changes in the impact,Which in turn causes a change in the detection coil voltage and impedance.Eddy current testing is based on this change, the indirect feedback of the existence of defects within the conductor and the performance of metal materials have changed.
 Working Conditions
l Operation Temperature:0℃-+45℃;
l Storage temperature:-20℃-+50℃;
l Relative humidity:≤85%;
l In an environment free from vibration, corrosive medium, strong magnetic field and Severe dust;
 Instrument Features
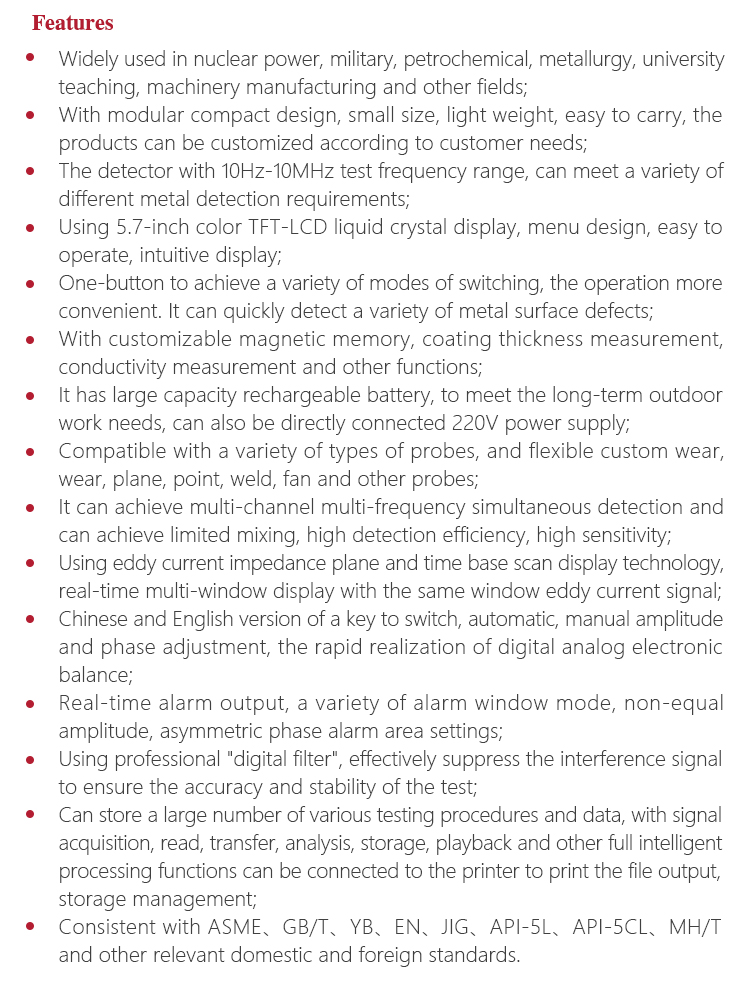
l Widely used in nuclear power, military, petrochemical, metallurgy, university teaching, machinery manufacturing and other
fields;
l With modular compact design, small size, light weight, easy to carry, the products can be customized according to
customer needs;
l The detector with 10Hz-10MHz test frequency range, can meet a variety of different metal detection requirements;
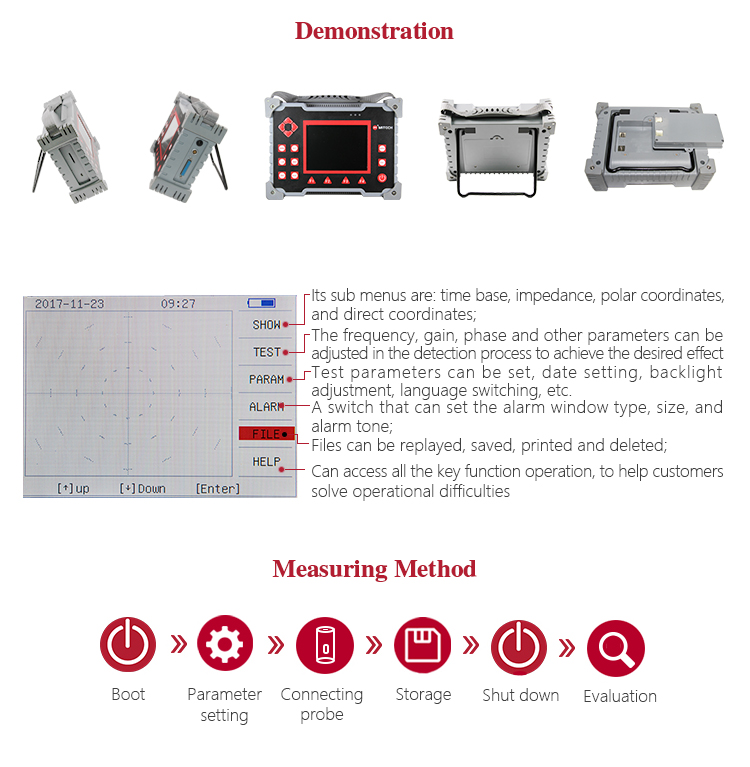
l Using 5.7-inch color TFT-LCD liquid crystal display, menu design, easy to operate, intuitive display;
l One-button to achieve a variety of modes of switching, the operation more convenient. It can quickly detect a variety of
metal surface defects;
l With customizable magnetic memory, coating thickness measurement, conductivity measurement and other functions;
l It has large capacity rechargeable battery, to meet the long-term outdoor work needs, can also be directly connected
220V power supply;
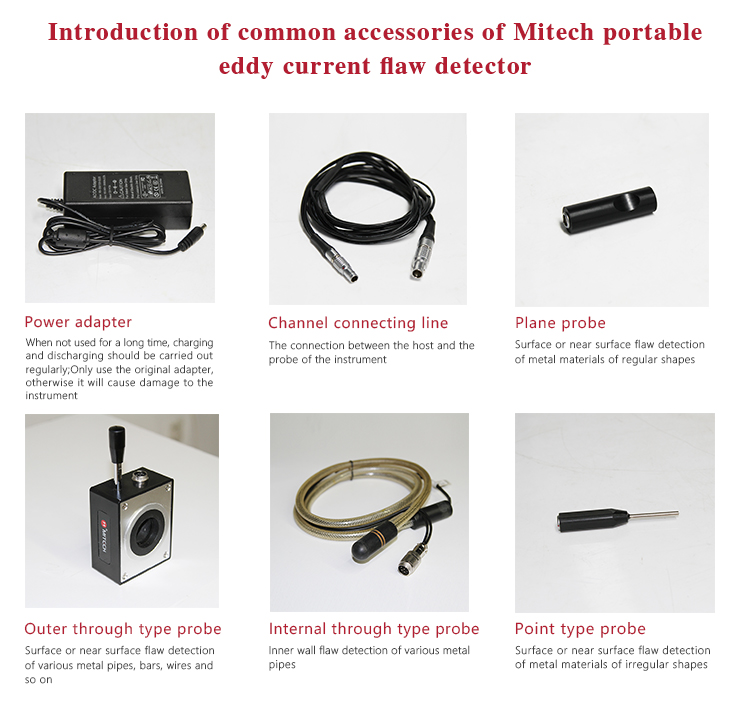
l Compatible with a variety of types of probes, and flexible custom wear, wear, plane, point, weld, fan and other probes;
l It can achieve multi-channel multi-frequency simultaneous detection and can achieve limited mixing, high detection
efficiency, high sensitivity;
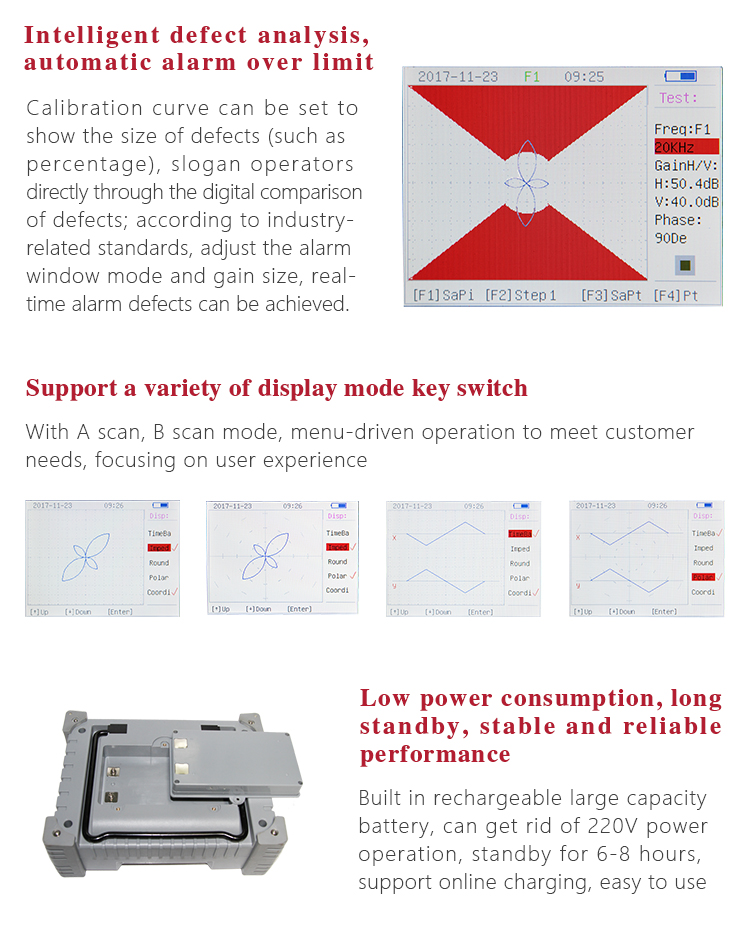
l Using eddy current impedance plane and time base scan display technology, real-time multi-window display with the same
window eddy current signal;
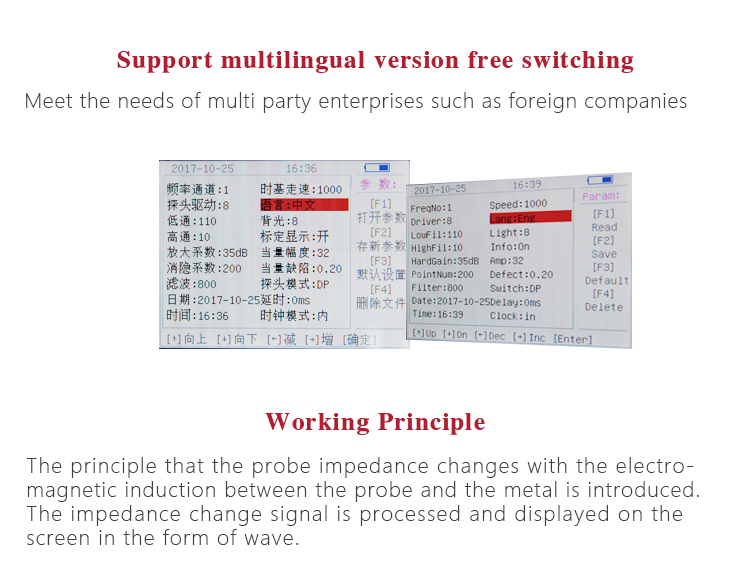
l Chinese and English version of a key to switch, automatic, manual amplitude and phase adjustment, the rapid realization
of digital analog electronic balance;
l Real-time alarm output, a variety of alarm window mode, non-equal amplitude, asymmetric phase alarm area settings;
l Using professional "digital filter", effectively suppress the interference signal to ensure the accuracy and stability of the
test;
l Can store a large number of various testing procedures and data, with signal acquisition, read, transfer, analysis,
storage, playback and other full intelligent processing functions can be connected to the printer to print the file output,
storage management;
l Consistent with ASME、GB/T、YB、EN、JIG、API-5L、API-5CL、MH/T and other relevant domestic and foreign
standards.
 Operating Method and Attentions
 Instrument Maintenance
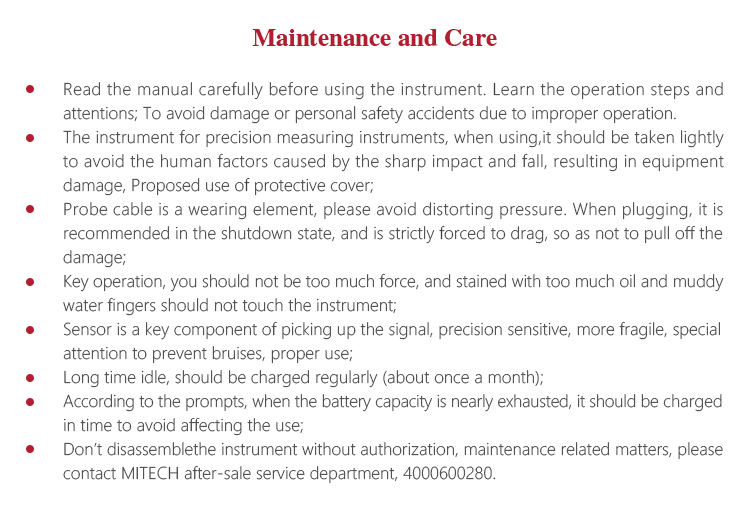
l Read the manual carefully before using the instrument. Learn the operation steps and attentions; To avoid damage
or personal safety accidents due to improper operation.
l The instrument for precision measuring instruments, when using,it should be taken lightly to avoid the human factors
caused by the sharp impact and fall, resulting in equipment damage, Proposed use of protective cover;
l Probe cable is a wearing element, please avoid distorting pressure. When plugging, it is recommended in the shutdown
state, and is strictly forced to drag, so as not to pull off the damage;
l Key operation, you should not be too much force, and stained with too much oil and muddy water fingers should not
touch the instrument;
l Sensor is a key component of picking up the signal, precision sensitive, more fragile, special attention to prevent bruises,
proper use;
l Long time idle, should be charged regularly (about once a month);
l According to the prompts, when the battery capacity is nearly exhausted, it should be charged in time to avoid affecting
the use;
l Don’t disassemblethe instrument without authorization, maintenance related matters, please contact MITECH after-sale
service department, 4000600280.
-


-
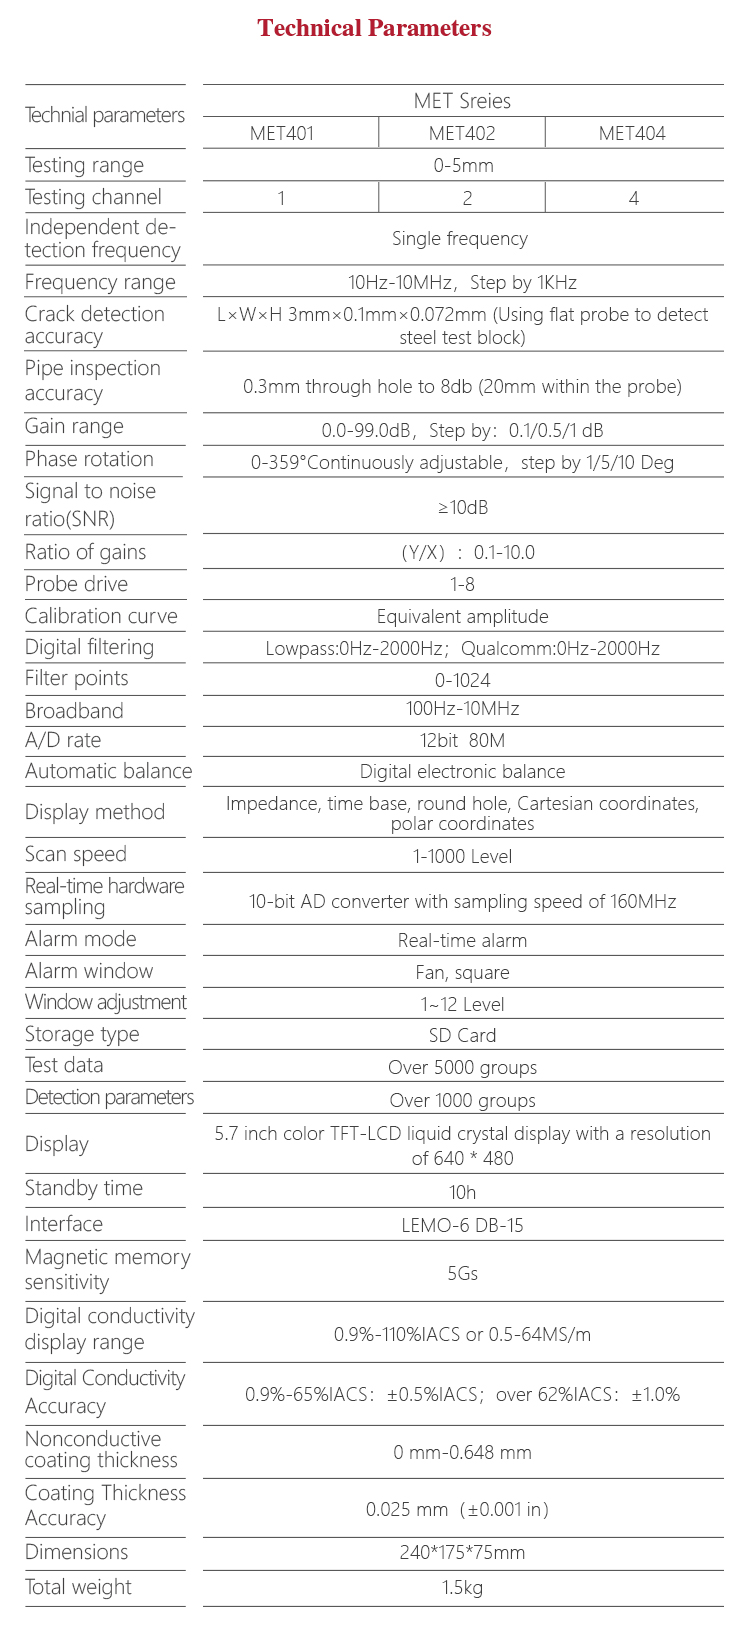
Testing range 0-5mm Testing channel 4 Independent detection frequency Single frequency Frequency range 10Hz-10MHz,Step by 1KHz Crack detection accuracy L×W×H 3mm×0.1mm×0.072mm (Using flat probe to detect steel test block) Pipe inspection accuracy 0.3mm through hole to 8db (20mm within the probe) Gain range 0.0-99.0dB,Step by:0.1/0.5/1 dB Phase rotation 0-359°Continuously adjustable,step by 1/5/10 Deg Signal to noise ratio(SNR) ≥10dB ratio of gains (Y/X):0.1-10.0 Probe drive 1-8 Calibration curve Equivalent amplitude Digital filtering Lowpass:0Hz-2000Hz;Qualcomm:0Hz-2000Hz Filter points 0-1024 Broadband 100Hz-10MHz A/D rate 12bit 80M Automatic balance Digital electronic balance Display method Impedance, time base, round hole, Cartesian coordinates, polar coordinates Scan speed 1-1000 Level Real-time hardware sampling 10-bit AD converter with sampling speed of 160MHz Alarm mode Real-time alarm Alarm window Fan, square Window adjustment 1~12 Level Storage type SD Card Test data Over 5000 groups Detection parameters Over 1000 groups Display 5.7 inch color TFT-LCD liquid crystal display with a resolution of 640 * 480 Standby time 10h Interface LEMO-6 DB-15 Magnetic memory sensitivity 5Gs Digital conductivity display range 0.9%-110%IACS or 0.5-64MS/m Digital Conductivity Accuracy 0.9%-65%IACS:±0.5%IACS;over 62%IACS:±1.0% Nonconductive coating thickness 0 mm-0.648 mm Coating Thickness Accuracy 0.025 mm(±0.001 in) Dimensions 240*175*75mm Total weight 1.5kg -
-


